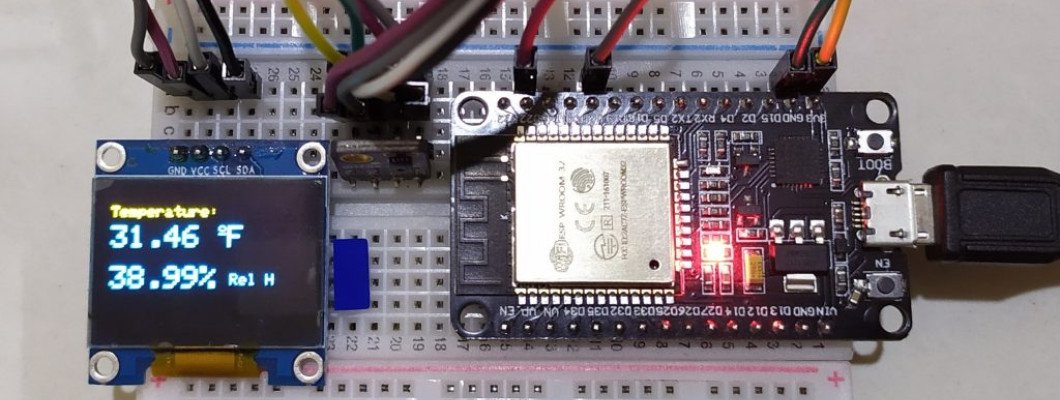
How to program NodeMCU to display custom text on an OLED screen

Introduction to NodeMCU and OLED Displays
NodeMCU is a popular development board that integrates Wi-Fi connectivity, making it ideal for IoT projects. OLED displays are compact and provide excellent visual output. This tutorial will guide you through the process of displaying custom text and images on an OLED display using NodeMCU.
Setting up the Hardware
- Connect the NodeMCU board to your computer via a USB cable.
- Connect the OLED display to the NodeMCU board following the pinout diagram.
Installing Required Libraries
- Open the Arduino IDE on your computer.
- Go to "Sketch" > "Include Library" > "Manage Libraries."
- Search for the required libraries: "Adafruit GFX" and "Adafruit SSD1306."
- Click "Install" for each library.
Initializing the OLED Display
- Import the required libraries into your Arduino sketch.
- Define the necessary constants for the OLED display.
- Initialize the OLED display object in the setup function.
Displaying Custom Text on OLED
- Use the display.setTextSize() function to set the text size.
- Use the display.setTextColor() function to set the text color.
- Use the display.setCursor() function to set the text position.
- Use the display.println() function to print the desired text.
- Use the display.display() function to update the OLED display.
Displaying Custom Images on OLED
- Convert the desired image to the monochrome bitmap format.
- Create a byte array to store the image data.
- Use the display.drawBitmap() function to display the image.
- Use the display.display() function to update the OLED display.
Conclusion
In this tutorial, you have learned how to display custom text and images on an OLED display using NodeMCU. With these techniques, you can create impressive IoT projects with personalized content. Explore further possibilities by experimenting with different font sizes, colors, and image formats.
Leave a Comment