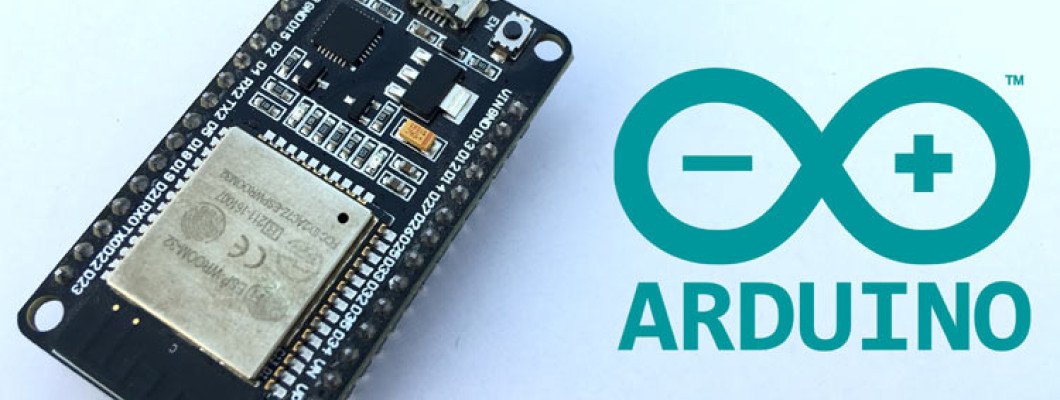
Getting Started with Arduino IDE for ESP Board Programming

ESP boards are a family of microcontrollers that offer wireless connectivity for IoT applications. These boards are popular among makers and hobbyists because they are easy to use and relatively inexpensive. The Arduino IDE is a popular development environment for programming ESP boards because it is user-friendly and supports a wide range of programming languages. In this section, we will introduce the basics of ESP boards and the Arduino IDE.
Setting up the Arduino IDE for ESP Board Programming
Before you can start programming ESP boards with the Arduino IDE, you need to set up the environment. This involves installing the necessary software and configuring the IDE for your board. Here are the steps to follow:
1. Install the Arduino IDE: The first step is to download and install the Arduino IDE on your computer. You can download the latest version of the IDE from the Arduino website.
2. Install the ESP Board Library: Once you have installed the Arduino IDE, you need to install the library for your ESP board. You can do this by opening the IDE and navigating to Tools > Board > Boards Manager. Search for your board and install the library.
3. Install the USB Driver: If you are using a board that requires a USB driver, you need to install the driver on your computer. You can find the driver on the manufacturer's website.
4. Configure the IDE: Once you have installed the necessary software, you need to configure the IDE for your board. This involves selecting the board type and setting the serial port. You can do this by navigating to Tools > Board and selecting your board type. Then navigate to Tools > Port and select the serial port.
5. Uploading sketches to ESP boards is a straightforward process. Here are the steps to follow:
1. Connect the board: Connect your ESP board to your computer using a USB cable.
2. Select the correct board and port: In the Arduino IDE, navigate to Tools > Board and select your ESP board. Then navigate to Tools > Port and select the serial port that your board is connected to.
3. Upload the sketch: Open the sketch that you want to upload to your board in the Arduino IDE. Then click on the upload button (the right-facing arrow icon) in the top left corner of the IDE. The IDE will compile the code and upload it to the board.
4. Monitor the serial monitor: If your sketch uses serial communication, you can monitor the serial monitor in the Arduino IDE to see the output from your board.
Debugging and Troubleshooting ESP Board Programs
As with any programming project, debugging and troubleshooting are essential skills to have when programming ESP boards. Here are some common issues that you may encounter when programming ESP boards and how to troubleshoot them:
1. Board not recognized: If your ESP board is not being recognized by the Arduino IDE, try resetting the board and reconnecting it to your computer. If that doesn't work, check that you have selected the correct board type and serial port in the IDE.
2. Sketch not uploading: If you are having trouble uploading your sketch to your ESP board, try resetting the board and checking that you have selected the correct board type and serial port in the IDE.
3. Unexpected behavior: If your sketch is not behaving as expected, check your code for errors and try running the sketch with debugging messages enabled. You can also monitor the serial monitor in the IDE to see the output from your board.
Conclusion
Programming ESP boards with the Arduino IDE is a fun and rewarding activity that allows you to create your own IoT projects. In this blog post, we covered the basics of setting up the Arduino IDE for ESP board programming, uploading sketches to ESP boards, and troubleshooting common issues that may arise during the programming process.
If you want to learn more about programming ESP boards with the Arduino IDE, there are plenty of resources available online. The official Arduino website has a wealth of tutorials and examples, and there are many online communities and forums where you can ask for help and share your projects with other makers and hobbyists. With a little bit of practice and experimentation, you can become a proficient ESP board programmer and start building your own IoT projects.
Leave a Comment