DIY 3D Printer Kits: A Comprehensive Guide to Building Your Own

3D printing is a rapidly growing field with endless possibilities. If you're interested in exploring this technology and want to create your own 3D printed objects, a DIY 3D printer kit can be a great option. Building your own 3D printer is not only a rewarding experience, but it also allows you to customize your printer according to your needs and preferences. In this blog, we will guide you through everything you need to know about DIY 3D printer kits, including how they work, what you need to get started, and how to build your own 3D printer.
What is a DIY 3D Printer Kit?
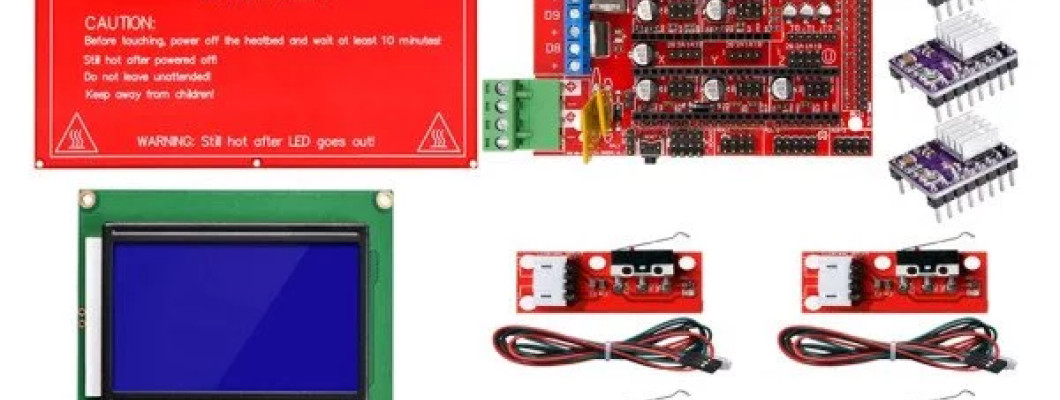
A DIY 3D printer kit is a collection of components that you need to assemble to create a fully functional 3D printer. These kits come with all the necessary hardware and software, as well as instructions on how to put everything together. DIY 3D printer kits come in various forms, from simple and basic kits to more advanced and complex ones. The level of difficulty and the features of the printer will depend on the kit you choose.
Why Build Your Own 3D Printer?
Building your own 3D printer has several advantages over buying a pre-assembled one. Firstly, it's a lot cheaper than buying a ready-made 3D printer. Secondly, it allows you to learn about the technology and the mechanics of the printer. You also have the ability to customize the printer to your needs, choosing the size, speed, and accuracy that you require. Finally, building a 3D printer from a kit can be a very rewarding experience that provides a sense of accomplishment and satisfaction.
What You Need to Get Started?
Before you start building your own 3D printer, you will need to gather some essential components. The exact components you need will depend on the kit you choose, but some of the basic requirements include:
1. Frame: This is the structure that holds all the components together. It can be made of wood, metal, or acrylic.
2. Motors and controllers: These are responsible for moving the print head and controlling the printer.
3. Print bed: This is the surface where the object is printed. It can be made of glass, aluminum, or other materials.
4. Extruder: This is the component that melts the plastic and deposits it on the print bed.
5. Power supply: This is necessary to power the components.
6. 3D printing software: This is the program that translates your design into a 3D printable file.
Building Your Own 3D Printer
Building your own 3D printer can be a challenging but rewarding experience. It requires patience, attention to detail, and some technical skills. The exact process of building a 3D printer will depend on the kit you choose, but generally, it involves the following steps:
1. Assemble the frame: This involves putting together the various parts of the frame and attaching the motors and controllers.
2. Install the print bed: This involves attaching the print bed to the frame and leveling it.
3. Install the extruder: This involves attaching the extruder to the print head and connecting it to the printer.
4. Connect the electronics: This involves connecting the various components of the printer to the control board and power supply.
5. Install the software: This involves installing the 3D printing software and configuring the printer settings.
6. Calibrate the printer: This involves fine-tuning the printer's settings to ensure accurate and precise printing.
Conclusion
Building your own 3D printer can be a rewarding and fulfilling experience that allows you to explore the world of 3D printing. DIY 3D printer kits are an excellent way to get started
1 Comment(s)
Price of kit
Leave a Comment