Controlling LEDs with Raspberry Pi Pico: A Step-by-Step Tutorial

Introduction to Raspberry Pi Pico
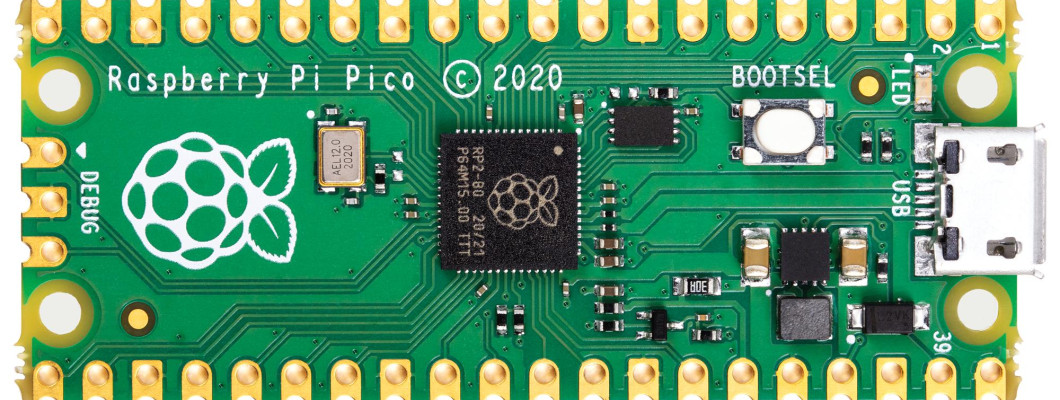
Raspberry Pi Pico is a low-cost microcontroller board that can be used for a wide range of electronic projects. It is based on the RP2040 microcontroller chip developed by Raspberry Pi and is compatible with popular programming languages such as MicroPython and C/C++. In this article, we'll explore the basics of Raspberry Pi Pico and show you how to get started with your own projects.
Setting up Raspberry Pi Pico
To get started with Raspberry Pi Pico, you'll need to follow these steps:
- Download the latest version of the Raspberry Pi Pico SDK from the official website.
- Install the SDK on your computer following the instructions provided.
- Connect Raspberry Pi Pico to your computer using a micro-USB cable.
- Install the necessary drivers if prompted.
- Open your preferred code editor and start programming!
Programming Raspberry Pi Pico with MicroPython
MicroPython is a popular programming language for microcontrollers, and Raspberry Pi Pico is no exception. Here's how to program Raspberry Pi Pico with MicroPython:
- Install the latest version of MicroPython on your Raspberry Pi Pico board.
- Connect Raspberry Pi Pico to your computer using a micro-USB cable.
- Open a terminal window and enter the command "screen /dev/ttyACM0 115200" (Linux/Mac) or "putty" (Windows).
- Once you have entered the terminal, you can start writing MicroPython code for Raspberry Pi Pico. To run the code, press Ctrl-D to enter the REPL mode, or save the code to the board and reset it.
You can also use an Integrated Development Environment (IDE) such as Thonny or Mu to program Raspberry Pi Pico with MicroPython. These tools provide a user-friendly interface and a range of helpful features such as code highlighting, auto-completion, and debugging.
Working with GPIO pins
Raspberry Pi Pico has 26 General Purpose Input/Output (GPIO) pins that can be used to interface with a range of electronic components such as sensors, LEDs, and motors. Here's how to work with GPIO pins on Raspberry Pi Pico:
- Choose a GPIO pin on Raspberry Pi Pico and connect an electronic component to it.
- Write a program in MicroPython or C/C++ that interacts with the GPIO pin and the connected component.
- Use the functions provided by the Raspberry Pi Pico SDK to control the state of the GPIO pin (e.g. high or low voltage).
- You can also use a breadboard or a shield to simplify the process of connecting electronic components to Raspberry Pi Pico.
Examples of Raspberry Pi Pico projects
There are countless projects that can be built with Raspberry Pi Pico, from simple LED blinkers to sophisticated robots. Here are a few examples to get you started:
- LED blinker: Connect an LED to a GPIO pin on Raspberry Pi Pico and write a program that turns it on and off at regular intervals.
- Temperature sensor: Connect a temperature sensor to a GPIO pin on Raspberry Pi Pico and write a program that reads the sensor data and displays it on a screen.
- Smart home controller: Use Raspberry Pi Pico to control various electronic devices in your home, such as lights, fans, and appliances.
- Robot controller: Build a robot and use Raspberry Pi Pico to control its motors and sensors.
Conclusion
Raspberry Pi Pico is an affordable and versatile microcontroller board that can be used for a variety of electronic projects. By following the steps outlined in this article, you can get started with Raspberry Pi Pico and start building your own projects. With its powerful RP2040 microcontroller chip and support for popular programming languages such as MicroPython and C/C++, Raspberry Pi Pico is a great choice for hobbyists and beginners in electronics and programming.
Leave a Comment