Build a Sound Controlled LED Strip with Raspberry Pi Pico

Introduction:
In this tutorial, we will show you how to create a sound reactive LED strip using WS2812B LEDs and Raspberry Pi Pico. A sound reactive LED strip synchronizes with audio input, producing stunning visual effects. With the versatility of Raspberry Pi Pico, you can unleash your creativity and customize your lighting experience.
Required Materials
Before starting, gather the following materials:
- Raspberry Pi Pico (microcontroller board)
- WS2812B LED Strip (addressable RGB LEDs)
- Jumper wires
- Breadboard
- Micro USB cable
- Audio source (e.g., computer, smartphone)
Setting up Raspberry Pi Pico
To begin, follow these steps to set up Raspberry Pi Pico:
- Connect Raspberry Pi Pico to your computer using a micro USB cable.
- Install the required software (e.g., Thonny IDE).
- Write a simple test program to ensure your Raspberry Pi Pico is working correctly.
Connecting the WS2812B LED Strip
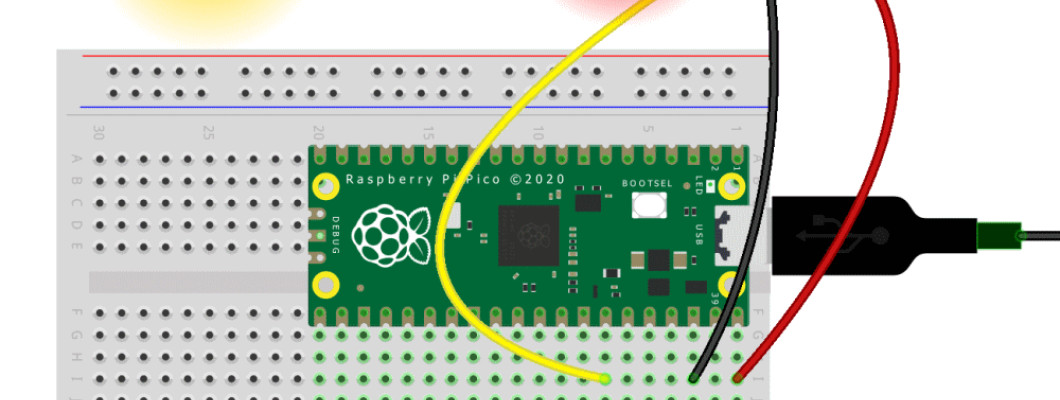
Now, let's connect the WS2812B LED strip to Raspberry Pi Pico:
- Disconnect power sources (Raspberry Pi Pico and LED strip) before making connections.
- Connect the 5V pin of Raspberry Pi Pico to the 5V input of the LED strip.
- Connect the GND pin of Raspberry Pi Pico to the GND input of the LED strip.
- Connect a GPIO pin (e.g., Pin 0) of Raspberry Pi Pico to the data input of the LED strip.
Programming the Sound Reactive Functionality
To program the sound reactive functionality, follow these steps:
- Write a Python program using the appropriate libraries (e.g., RPi.GPIO, Adafruit CircuitPython).
- Initialize the LED strip and set up the audio input.
- Analyze the audio input and convert it into suitable data for the LED strip.
- Implement the desired sound reactive effects and color patterns.
- Upload and run the program on Raspberry Pi Pico.
Testing and Troubleshooting
After programming, it's time to test and troubleshoot your sound reactive LED strip:
- Ensure the connections are secure and correct.
- Connect the audio source to Raspberry Pi Pico.
- Power up Raspberry Pi Pico and observe the LED strip's response.
- Adjust the sensitivity and effects according to your preference.
- Troubleshoot any issues like flickering LEDs or no response by reviewing your connections and code.
Conclusion
Congratulations! You have successfully created your own sound reactive WS2812B LED strip using Raspberry Pi Pico. Feel free to explore different sound sources, experiment with various effects, and personalize your LED lighting setup. Have fun and let your creativity shine!
Leave a Comment